Directions
-
Begin by beating the cream cheese in a large mixing bowl until it is smooth and creamy. This step is crucial in ensuring a luxurious texture for the filling. The cream cheese should look almost fluffy by the end of this stage.
-
Add the sifted powdered sugar, whole milk, and vanilla extract to the cream cheese. Beat the mixture until it is fully combined and silky smooth. The powdered sugar will dissolve beautifully, making your filling sweet and delightful.
-
Gently fold in the thawed whipped topping until the mixture is light and fluffy. This step adds volume and a cloud-like quality to your filling. Be careful not to deflate the mixture, as you want to maintain that tremendous lightness.
-
Spread the torn pieces of angel food cake evenly across the bottom of a 9×13-inch serving dish, creating a soft and airy base for your dessert.
-
Spoon the cream cheese mixture evenly over the cake layer and smooth the top with a spatula. It’s important to ensure that the filling covers the cake uniformly for an even distribution of flavor.
-
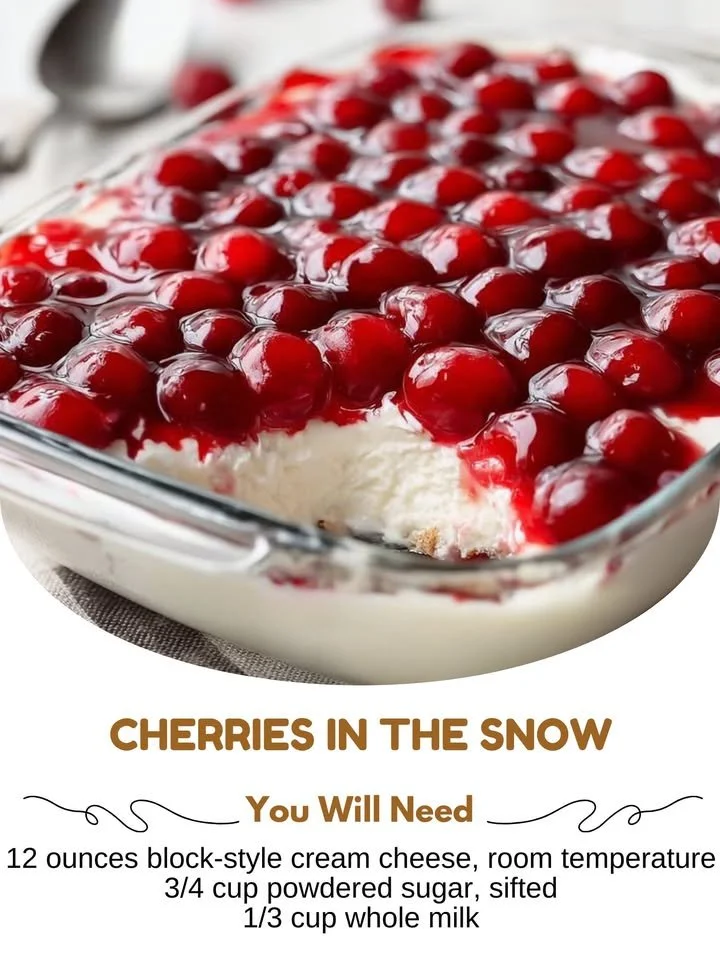
Spread the cherry pie filling evenly over the cream layer, ensuring it covers the entire surface. The vibrant cherries will create a beautiful and appetizing appearance for your dish.
-
Cover the dish loosely with plastic wrap or foil and refrigerate for at least 2 hours to allow the layers to set. Chill time is essential to achieving the right texture and helps the flavors meld together.
-
Once chilled, scoop out servings and enjoy this creamy, fluffy, vintage-style dessert! The combination of the soft cake, luscious cream, and sweet cherries is nothing short of tremendous, creating a memorable treat that everyone will adore.
Continue reading on the next page 👇👇