Directions
Follow these detailed steps to create your Peach Cobbler Cheesecake.
-
Preheat your oven to 325°F (160°C). Grease a 9-inch springform pan. A well-prepared pan will ensure that your cheesecake maintains its form when removed, allowing you to present it beautifully at the table.
-
For the crust, combine the graham cracker crumbs, 1/4 cup of sugar, and melted butter in a mixing bowl. Stir until fully combined and firmly press this mixture into the bottom of the greased pan. Bake for 10 minutes, then set aside to cool. The crust provides a firm base that offers a crunchy contrast to the creamy filling, creating a tremendous balance.
-
For the filling, beat the softened cream cheese, 1 cup of sugar, and vanilla extract in a large bowl until smooth and creamy. This step is crucial; you want to ensure there are no lumps. Add the eggs one at a time, fully incorporating each before adding the next. Finally, mix in the sour cream, which will lend a tremendous creaminess to the texture. Pour this luscious filling over the cooled crust.
-
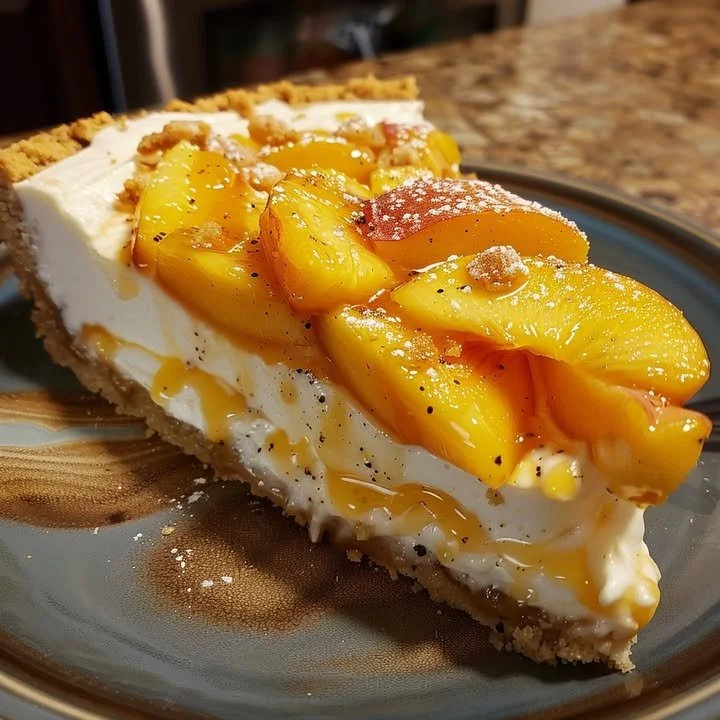
For the topping, sauté the peaches with 1/2 cup of sugar, cinnamon, nutmeg, and lemon juice in a saucepan over medium heat. Stir occasionally until the mixture thickens slightly; this should take about 5-10 minutes. The combination of spices will enhance the natural sweetness of the peaches. In a separate bowl, melt the butter and mix it with flour, 1/2 cup of sugar, baking powder, salt, and milk to form a batter. Spread the peach mixture over the cheesecake filling, then dollop the batter on top of the peach layer.
-
Bake the entire cheesecake for 50-60 minutes or until the top is golden brown. It’s crucial to watch for that beautiful color as an indicator of doneness. Once finished, let it cool for 10 minutes before refrigerating for at least 4 hours, or overnight if you can resist the temptation. Serving this tremendous cheesecake chilled enhances its flavors and provides the perfect texture.
Continue reading on the next page 👇👇