Directions
-
Preheat your oven to 350°F (175°C). Begin by baking the pie crust according to package instructions or until it achieves a golden brown hue. Once baked, remove it from the oven and let it cool completely.
-
In a medium-sized saucepan, add sugar, cocoa powder, cornstarch, and salt. Using a whisk, mix these dry ingredients together until they are well combined.
-
Gradually add the milk to the dry mix, whisking continuously until the mixture is smooth and free of lumps. This step is crucial, as it sets the foundation for a luxurious filling.
-
Place the saucepan over medium heat. Stir the mixture consistently with a wooden spoon or spatula. Cook until the filling thickens and begins to boil, which should take about 7 to 10 minutes. The tremendous aroma of chocolate will fill your kitchen during this time.
-
Once the mixture has thickened, remove it from the heat. To temper the egg yolks, slowly whisk in about half a cup of the hot chocolate mixture into the beaten yolks. This will help prevent them from curdling.
-
Pour the tempered egg yolk mixture back into the saucepan. Return the saucepan to medium heat and continue stirring for an additional 2 minutes. This step is essential for achieving a smooth and stable filling.
-
Remove the saucepan from the heat one final time. Stir in the butter and vanilla extract, mixing until the butter is fully melted and combines seamlessly into the chocolate filling.
-
Carefully pour the luscious chocolate filling into the cooled pie crust, spreading it evenly.
-
To prevent a skin from forming, cover the pie with plastic wrap, pressing it directly onto the surface of the filling.
-
Refrigerate the pie for at least 4 hours or until it is fully set. This resting period allows the flavors to meld beautifully and the texture to firm up.
-
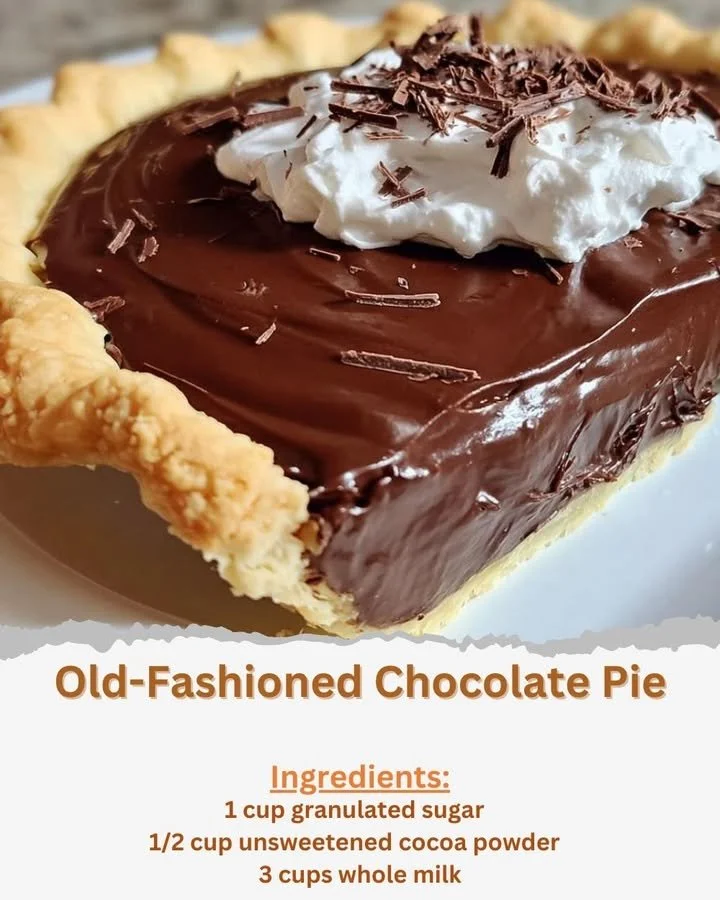
Before serving, dollop some whipped cream on top of the pie if desired. You can also sprinkle chocolate shavings or cocoa powder as a delightful garnish.
Continue reading on the next page 👇👇