Ingredients
The Base
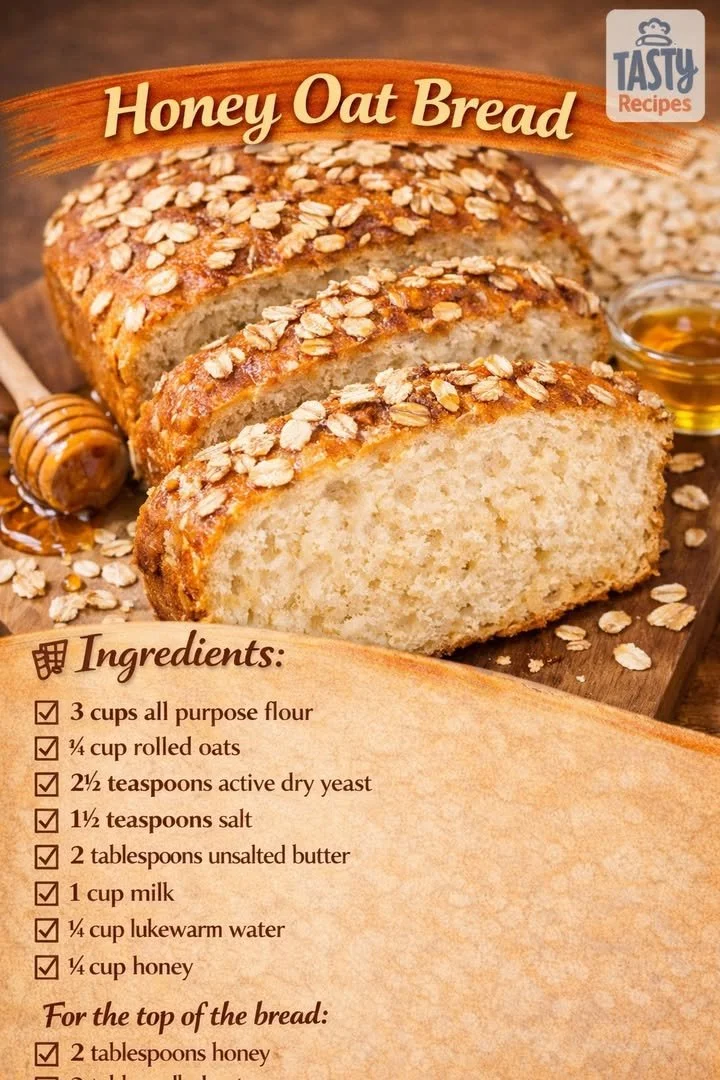
- 3 cups all-purpose flour
- 3/4 cup rolled oats
- 2 1/4 teaspoons active dry yeast
- 1 1/2 teaspoons salt
The Wet Ingredients
- 2 tablespoons unsalted butter
- 1 cup milk
- 1/4 cup lukewarm water
- 1/4 cup honey
Toppings
- 2 tablespoons honey (for the top)
- 2 tablespoons rolled oats (for the top)
Instructions on the next page 👇👇
Directions
-
Combine the dry ingredients: In a large bowl or stand mixer, mix the all-purpose flour, rolled oats, yeast, and salt together. This is a crucial step, as properly combining these elements creates a solid foundation for your bread.
-
Heat the milk and butter: In a small saucepan, combine the milk and butter. Heat until the butter is melted, without boiling the milk. The warmth in this mixture will help the yeast activate beautifully, adding to the bread’s delightful rise.
-
Mix in honey and water: Stir honey and lukewarm water into the milk and butter mixture. This sweet addition not only enhances the flavor but also contributes to the bread’s moistness. The honey will work its magic throughout the baking process.
-
Combine mixtures: Add the milk mixture to the dry ingredients. Knead until combined, about 6-8 minutes with a stand mixer, or 10 minutes by hand. The process of kneading builds the gluten structure, resulting in a tremendous texture in the final loaf.
-
First rise: Place dough in a lightly oiled bowl, cover, and let it rise until doubled in size, about 30 minutes to 1 hour. Patience is key here; allowing the dough to develop flavors and air pockets will pay off in each bite.
-
Shape for the second rise: Roll the dough into a loaf shape and place it into a 9×5 inch pan. Let rise again until doubled, about 30 minutes to 1 hour. This second rise ensures a light and airy crumb in your finished bread.
-
Preheat oven: While the dough rises, preheat the oven to 350°F (175°C). A properly heated oven is vital for achieving that perfect crust.
-
Prepare for baking: Brush the top of the loaf with reserved honey and sprinkle it with rolled oats. This will create a beautiful, glistening surface that is as pleasing to the eye as it is to the palate.
-
Bake the bread: Place the loaf in the oven and bake for about 40 minutes. You’ll know it’s done when the bread is a golden brown and sounds hollow when tapped on the bottom.
-
Cool and serve: Allow the bread to cool completely before slicing. This will ensure that the texture remains intact and every slice is as delicious as the last.
Continue reading on the next page 👇👇
Pro Tips for Success
Ensure Proper Yeast Activation
- Use lukewarm water, around 110°F (43°C), to dissolve the yeast. Water that is too hot can kill the yeast, while too cold will not activate it properly.
- If using fresh yeast, ensure it is crumbled finely before mixing, which helps with quicker activation.
- This is a tremendous opportunity to nourish your dough, so watch for the yeast to bubble; it’s a sign you’re on the right track!
Kneading Techniques
- If using a stand mixer, employ the dough hook attachment for effective kneading. Aim for a smooth, elastic texture.
- When kneading by hand, keep your workspace lightly floured to prevent sticking but avoid over-flouring, as it can lead to a dense loaf.
- Enjoy the kneading process; feel free to let your thoughts wander as you develop the gluten structure.
Baking Perfection
- Invest in an oven thermometer to ensure your oven is at the right temperature, as many ovens can be off by significant margins.
- If your bread browns too quickly, cover it loosely with aluminum foil to avoid burning.
- For an extra boost of steam in the oven, you can place a small pan of water on the bottom rack while your bread bakes. This creates a crispier crust—a tremendous touch!
Storage and Freshness
Keeping Bread Fresh
- Store your Honey Oat Bread in a bread box or a paper bag at room temperature for up to three days. Avoid plastic bags as they trap moisture, leading to a gummy texture.
- For longer storage, slice the bread and place it in a resealable plastic bag; it can remain fresh in the freezer for up to three months.
- Thaw slices individually on the countertop for a fresh-tasting piece whenever you desire.
Reviving Stale Bread
- If you find your bread has become slightly stale, lightly mist it with water and warm it in the oven for about 5-10 minutes. This can help revitalize the texture.
- Try toasting slices for a different experience—adding a tremendous crunch to your spreadable toppings.
Gift Ideas
- Wrapped in a beautiful cloth and tied with twine, Honey Oat Bread makes a wonderful gift for friends or loved ones. Consider adding a small jar of honey for a personal touch!
Final Thoughts
Crafting your own Honey Oat Bread is not just about the process; it’s about the memories made and the flavors shared. Each loaf becomes a symbol of home, one that welcomes family and friends alike. Its tremendous ability to complement any meal or serve as a stand-alone treat ensures you’ll find yourself returning to this recipe time and time again.
What will you pair with your homemade Honey Oat Bread?