Ingredients
The Base:
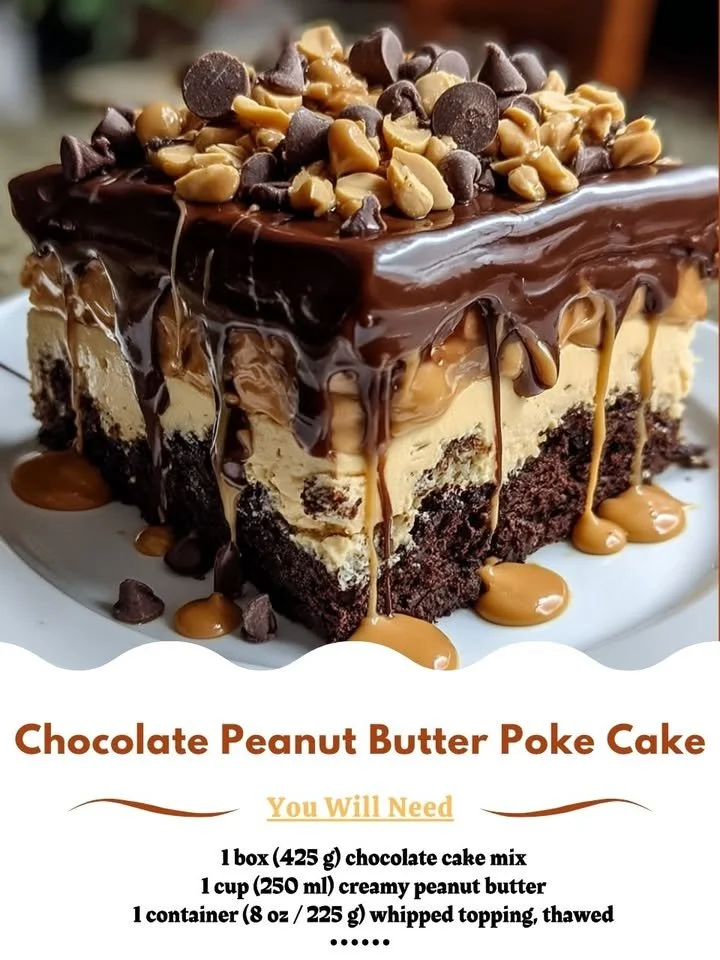
- 1 box (425 g) chocolate cake mix
- 1 cup (250 ml) milk (for the cake)
The Filling:
- 1 cup (250 ml) chocolate pudding mix
- 1 cup (250 ml) milk (for pudding)
- 1 cup (250 ml) creamy peanut butter
The Topping:
- 1 container (8 oz / 225 g) whipped topping, thawed
- Chocolate chips (for topping, optional)
Instructions on the next page 👇👇
Directions
-
Bake the Cake: Start by preparing the chocolate cake mix according to the package instructions. This usually involves mixing the cake mix with one cup of milk and the required number of eggs. Bake in a pre-greased 9×13 inch pan. The aroma that fills your kitchen will be nothing short of tremendous!
-
Cool the Cake: Once the cake is baked to perfection, allow it to cool for about 15 minutes. This cooling time is crucial, as it will ensure that the pudding can seep into the cake properly.
-
Poke the Holes: Using the handle of a wooden spoon, poke holes all over the surface of the cake. Make them about an inch apart. This step is vital, as these holes allow the pudding to penetrate, making each bite rich with chocolate flavor.
-
Prepare the Pudding: In a mixing bowl, whisk together the chocolate pudding mix and one cup of milk until smooth and creamy. This should take around two minutes. The pudding will thicken quickly, so work efficiently.
-
Fill the Holes: Pour the chocolate pudding over the cake. Focus on filling the holes you just created. This will create pockets of moisture that are simply delightful when you serve the cake.
-
Make the Peanut Butter Layer: In another bowl, blend the creamy peanut butter with a generous portion of the whipped topping. This combination will yield a rich and creamy peanut butter layer that complements the chocolate beautifully.
-
Spread the Peanut Butter Mixture: Gently spread the peanut butter mixture on top of the cake. Using a spatula, work carefully to cover the pudding layer evenly, ensuring every bite gets that tremendous peanut butter flavor.
-
Top with Whipped Topping: Now, spread the remaining whipped topping evenly over the peanut butter layer. This will add a light and fluffy finish to your cake, making it irresistibly inviting.
-
Add the Finishing Touches: If desired, sprinkle chocolate chips on top of the whipped topping for added texture and a bit of extra indulgence.
-
Refrigerate Before Serving: Cover the cake with plastic wrap and refrigerate it for at least 2 hours before serving. This chilling time helps meld the flavors and gives the pudding chance to set. It’s worth the wait!
Continue reading on the next page 👇👇
Pro Tips for Success
Perfecting the Cake:
- Follow Package Instructions: Make sure to read through the cake mix package thoroughly. Different brands may have variations in required ingredients or baking times.
- Don’t Overmix: When preparing the cake batter, be careful not to overmix. This can lead to a dense cake rather than a light and fluffy one.
- Test for Doneness: Use a toothpick to test the cake towards the end of the baking time. The toothpick should come out clean or with just a few moist crumbs.
Creating the Filling:
- Mix Quickly: When preparing the chocolate pudding, whisk quickly to avoid any lumps. A few seconds of fast mixing will yield the smooth consistency you’re aiming for.
- Use Fresh Ingredients: Always check the expiration date on your pudding mix and whipped topping to ensure the best flavor and texture.
- Allow to Set: After pouring the pudding over the cake, let it sit for a few minutes before proceeding to the next step. This allows the pudding to settle into the holes better.
Topping and Serving:
- Serve Cold: This cake is best served cold, so keep it in the fridge until you’re ready to enjoy it.
- Add Personal Touches: Feel free to customize your cake with toppings like crushed peanuts, drizzled chocolate, or even a caramel sauce for an extra treat.
- Slice with Care: Use a sharp knife to slice through the layers when serving. This will help maintain the structure and layers of the cake.
Storage and Freshness
Keep It Cool:
- Refrigerate Promptly: After baking, ensure that any leftover cake is kept in the refrigerator. The cake will keep its freshness longer when chilled.
- Cover Well: Store the cake in an airtight container or cover it well with plastic wrap to avoid it drying out.
Freezing Tips:
- Freezing Individual Slices: If you want to freeze slices for later, wrap them in plastic wrap and place them in a freezer-safe container. Enjoy them within three months for the best taste.
- Thawing: When ready to enjoy, simply remove the slices from the freezer and let them thaw in the refrigerator overnight.
Shelf Life:
- Enjoy Within a Week: Try to consume the cake within a week for the best flavor and texture. The pudding and whipped cream have a limited shelf life, so it’s best to enjoy it fresh!
Final Thoughts
The Chocolate Peanut Butter Poke Cake is a delightful symphony of flavors, textures, and nostalgia. Each bite feels like a hug, wrapping you in warmth and joy. It’s a tremendous treat that can brighten any occasion or simply satisfy a sweet craving.
What’s your favorite tender memory associated with baking or sharing dessert?