Pro Tips for Success
Be Precise with Measurements
Accurate measurements can make or break your bars. Use a kitchen scale for ingredients like flour and sugar to ensure you don’t accidentally overload your batter with dry ingredients.
Don’t Skip the Sifting Step
Sifting the cocoa powder and flour may seem tedious, but it’s essential for preventing lumps and ensuring the dry ingredients integrate smoothly into the batter. This small step brings tremendous results!
Allow to Cool Completely
Letting the bars cool completely before cutting is vital. This will help the bars firm up and maintain their shape, giving you clean slices that are visually appealing.
Storage and Freshness
Keep Them Airtight
Store your Chocolate Mud Bars in an airtight container at room temperature. This will help maintain their moisture and fudge-like texture for several days.
Refrigeration for Longer Life
If you want them to last longer, consider refrigerating your bars. They can stay fresh for up to a week while chilled. Just be sure to bring them to room temperature before serving for the best texture.
Freezing for Special Occasions
For even longer storage, you can freeze the bars. Use parchment paper to separate layers and wrap them tightly in plastic wrap. They can last up to three months in the freezer, making them a tremendous treat for unexpected guests.
Final Thoughts
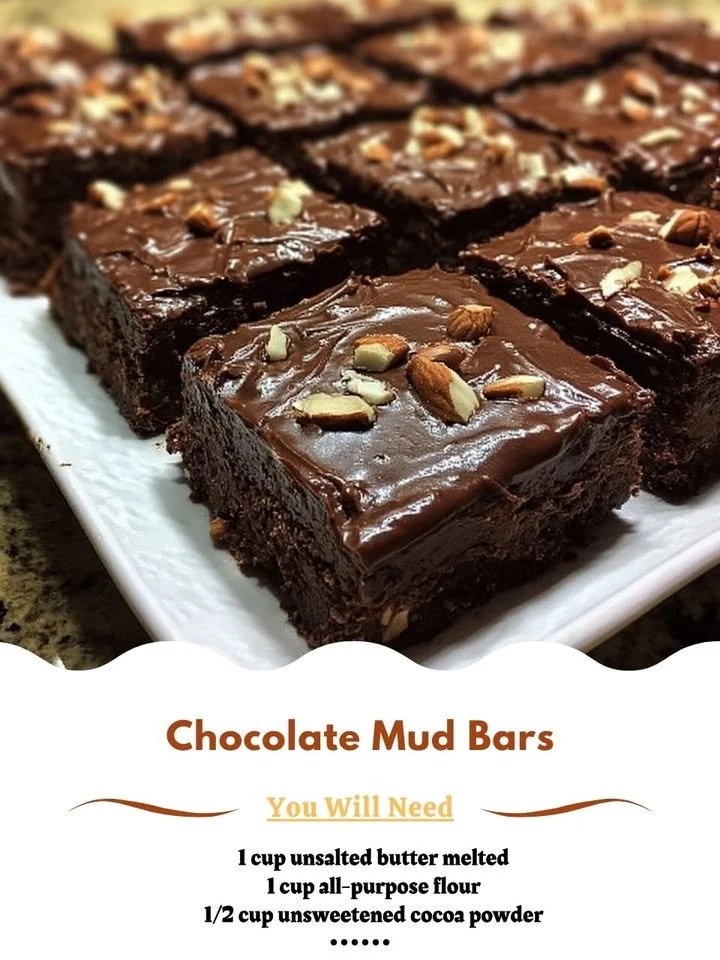
Chocolate Mud Bars represent more than a simple dessert; they evoke warmth, comfort, and memories of togetherness. As each rich and fudgy bite melts in your mouth, you can’t help but feel a sense of nostalgia and joy. With straightforward ingredients and simple steps, this recipe allows anyone to create a tremendous treat in their own kitchen.
Have you ever tried your hand at baking these delightful bars? What memorable moments have they inspired for you?