Ingredients
The Base
- 1 cup butter
- 1 cup sugar
- 1 cup brown sugar
- 4 eggs
- 1 teaspoon vanilla extract
- 1 cup all-purpose flour
- 1/2 cup cocoa powder
- 1/4 teaspoon salt
The Filling
- 1 cup heavy cream
- 8 ounces chocolate (semisweet or dark)
The Ganache
- 1/2 cup chocolate ganache
Instructions on the next page 👇👇
Directions
-
Preheat the oven to 350°F (175°C). Grease a brownie pan generously to ensure an easy release later.
-
In a saucepan over medium heat, melt the butter. Once melted, remove it from the heat and whisk in both the sugar and brown sugar until smooth. This will form a tremendous base for your brownies.
-
Add the eggs, introducing them one at a time. Beat well after each addition to incorporate plenty of air into the mixture. Stir in the vanilla extract until seamlessly combined.
-
In a separate bowl, whisk together the flour, cocoa powder, and salt. This dry mix is vital for achieving the right texture. Gradually add the dry ingredients to the wet mixture, stirring gently until just combined.
-
Pour the brownie batter into the prepared pan, ensuring even distribution across the surface. Bake for 20-25 minutes or until a toothpick inserted into the center comes out with a few moist crumbs.
-
Once baked, allow the brownies to cool in the pan. Meanwhile, prepare the mousse: melt the chocolate and heavy cream together in a heatproof bowl, stirring until glossy. Allow it to cool slightly before spreading.
-
Spread the light and fluffy mousse evenly over the cooled brownies. Refrigerate the entire pan until the mousse is set, which should take about an hour.
-
To create the ganache, melt the remaining chocolate with a touch of cream. Stir until smooth and pour it over the chilled mousse layer.
-
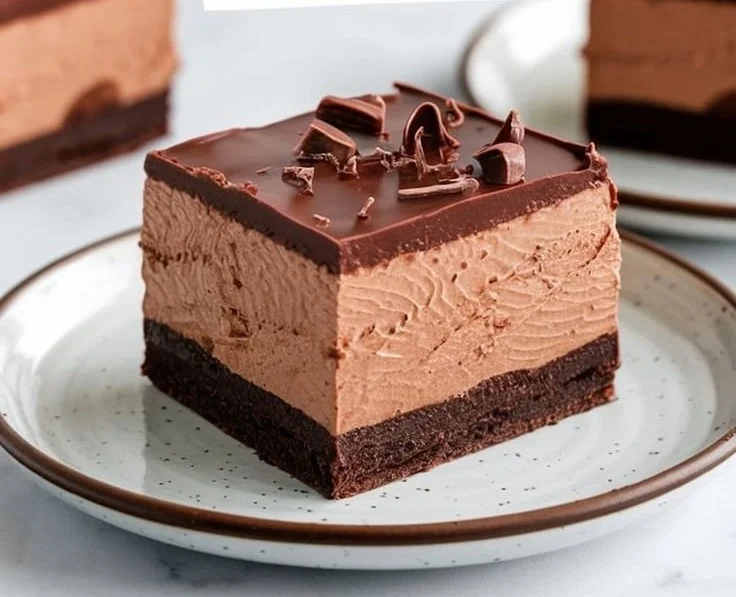
For the final touch, carefully cut into squares. Serve them up on a lovely plate, and watch as everyone eagerly dives in!
Continue reading on the next page 👇👇
Pro Tips for Success
The Baking Process
-
Check for Doneness: Each oven is different, so start checking the brownies a minute or two earlier than the recommended time. The surface should look set and slightly cracked, but still soft in the middle.
-
Cool Time is Key: Allow the brownies to cool completely before adding the mousse. If they are too warm, the mousse may melt, ruining the beautiful layers you just created.
-
Use Quality Chocolate: The flavor of chocolate is paramount in this dessert. Choose a high-quality chocolate for both the mousse and ganache to elevate the flavor profile tremendously.
Achieving Perfect Mousse
-
Don’t Rush the Whipping: When incorporating the cream into the melted chocolate, take your time. Whip until stiff peaks form, which will contribute to that wonderful lightness.
-
Temperature Matters: Ensure that the melted chocolate mixture cools slightly before folding in the whipped cream. This prevents the cream from melting and will maintain the airy texture of your mousse.
-
Chill Thoroughly: Patience pays off! The mousse needs to set completely. Reserve enough time in your schedule, at least an hour, for the best results.
Storage and Freshness
Short-Term
-
Refrigerate: Store the brownies in an airtight container in the fridge. The cooling process makes them even more delightful the next day.
-
Use Parchment Paper: When storing, line your container with parchment paper for easier removal of the brownies without ruining the mousse.
-
Keep Covered: Prevent drying out by keeping the brownies covered. Chocolate tends to absorb odors, so sealing them tightly will help maintain their flavor.
Long-Term
-
Freeze for Later: If you want to make these brownies in advance, freeze them! Cut into squares and wrap individually in plastic wrap before placing them in a freezer-safe container.
-
Defrost Wisely: To serve them after freezing, thaw in the refrigerator overnight. Don’t rush the process at room temperature, as it can compromise texture.
-
Limit to 2-3 Months: For the best taste and texture, consume frozen brownies within 2-3 months. The longer they sit, the more they lose their tremendous quality.
Final Thoughts
Chocolate Mousse Brownies are more than just a dessert; they’re an experience crafted with care and nostalgia. As you revel in each delectable bite, you can appreciate the tremendous joy that comes from both creation and indulgence. What cherished memories do you have involving chocolate and baking? Share your stories and let the sweet journey continue!