Directions
-
Preheat your oven to 350°F (175°C). This is the first crucial step in ensuring that your cheesecake bakes evenly and thoroughly. As the oven heats up, it will prepare a perfect environment for the flavors to meld.
-
In a large bowl, combine the cream cheese, sugar, and vanilla extract. Using a hand mixer, mix at medium speed until the mixture is creamy and well blended. This blending process is essential to achieving that smooth, creamy texture that every great cheesecake is known for.
-
Once the cream cheese mixture is combined well, add the eggs one at a time, mixing until just incorporated. Be careful not to over-mix, as this can create air bubbles that lead to cracks in your cheesecake.
-
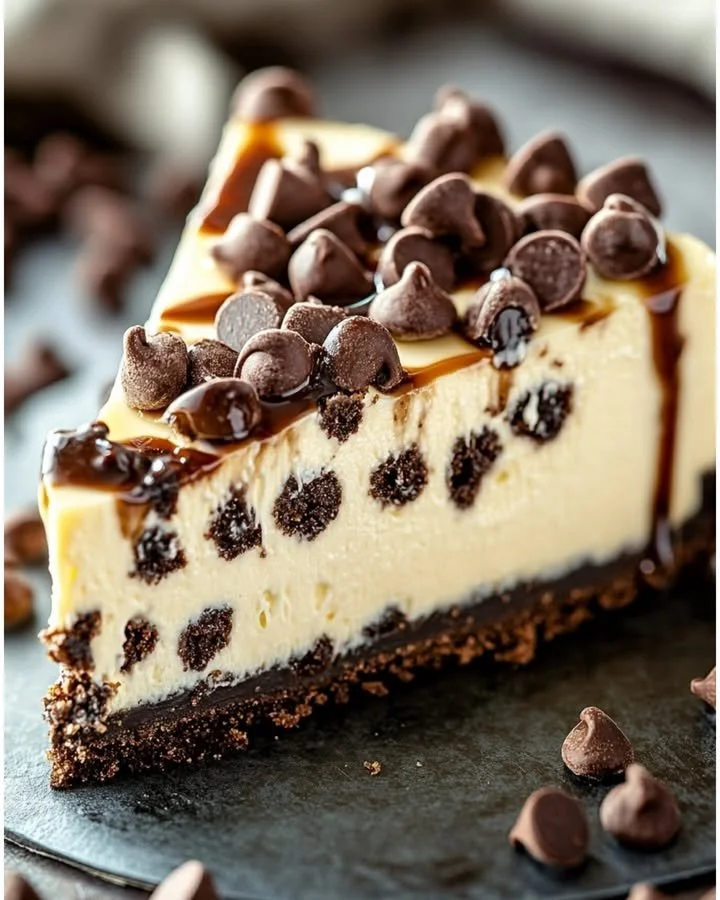
Gently stir in 1/2 cup of the mini chocolate chips. This step adds the tremendous chocolatey goodness that takes the cheesecake to a new level. You want to evenly distribute them throughout the batter for a delightful surprise in every bite.
-
Pour the cheesecake mixture into the pre-made crust. Make sure to spread it evenly across the crust to ensure even baking.
-
Sprinkle the remaining 1/4 cup of chocolate chips over the top. This adds an attractive finish and a little extra chocolate delight that will melt beautifully while baking.
-
Bake in the preheated oven for 40 minutes. The center should be slightly set but still have a slight jiggle when you gently shake the pan. Over-baking can lead to dryness.
-
Allow the cheesecake to cool on the counter for at least one hour before covering it and placing it in the refrigerator. For the best results, refrigerate for a minimum of 3 hours or, better yet, overnight. This waiting period allows the flavors to deepen and the texture to reach that perfect creamy consistency.
-
Slice into 8-10 servings and enjoy your delicious Chocolate Chip Cheesecake! Store any leftovers in the refrigerator, covered, for up to 5 days, although I doubt it will last that long!
Continue reading on the next page 👇👇