Directions
-
In a large bowl, dissolve the yeast and sugar in warm water. Allow the mixture to sit for about 10 minutes until it becomes foamy. This indicates that the yeast is alive and ready to work its magic. The tremendous aroma of activated yeast will surely fill the kitchen, setting the perfect stage for your baking adventure.
-
Once the yeast is bubbly, add the salt and vegetable oil to the mixture. The oil not only adds moisture but also creates a tender crumb in your bread. Stir gently to combine the ingredients, forming a somewhat liquid base.
-
Gradually add the flour, stirring as you go, until a soft dough forms. It helps to start with 3 cups of flour and then add more as needed. The dough should start to pull away from the sides of the bowl but still be slightly sticky.
-
Turn the dough out onto a floured surface. Knead the dough for about 8-10 minutes, incorporating flour as needed until it becomes smooth and elastic. This is where the tremendous magic happens; as you knead, the gluten develops, leading to a wonderfully chewy texture.
-
Place the kneaded dough in a greased bowl, covering it with a clean kitchen towel. Let it rise in a warm place for 1-2 hours, or until it has doubled in size. This rising process is crucial, as it allows the natural flavors and textures to build.
-
Preheat your oven to 350°F (175°C) so that it is hot and ready to bake once your dough is shaped.
-
Gently punch down the risen dough to release any trapped air bubbles. Shape it into loaves by rolling it into a log that fits your greased loaf pans. The dough is now ready to take its final shape and will continue to grow.
-
Place the shaped loaves into greased loaf pans. Cover them lightly and let them rise for another 30 minutes. This second rise will enhance the light and fluffy characteristics of your bread.
-
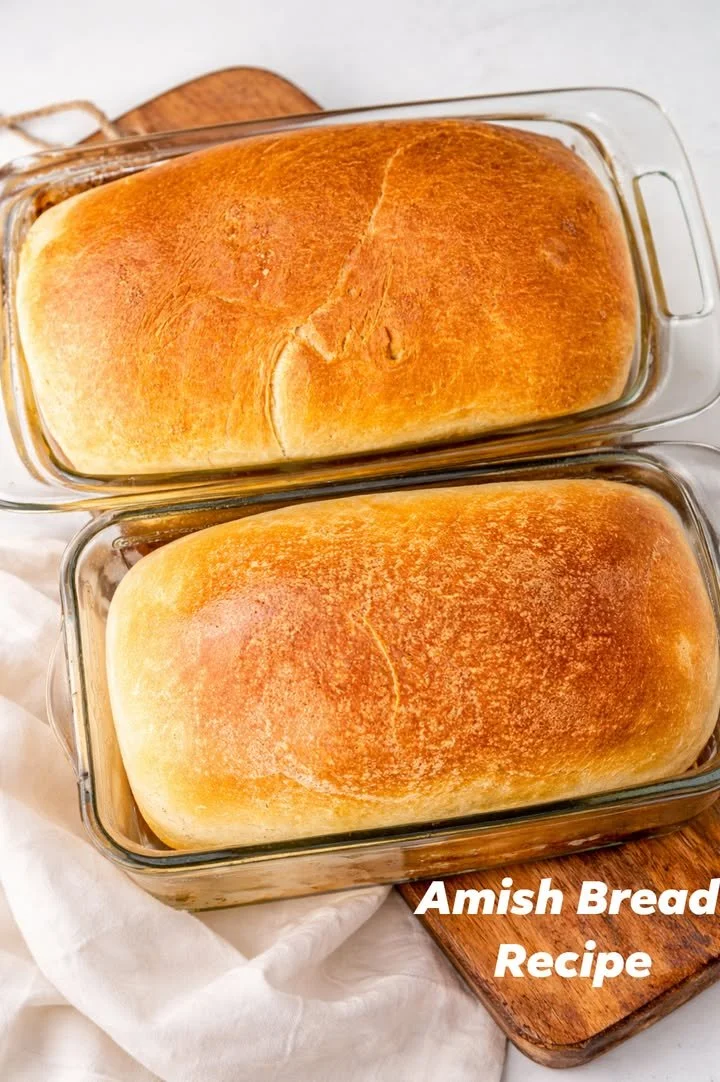
Once the loaves have risen again, place them in the preheated oven. Bake for 25-30 minutes or until they are a lovely golden brown color. The tremendous aroma wafting through your home will surely make everyone gather in the kitchen.
-
After baking, allow the bread to cool in the pans for a few minutes before transferring it to a wire rack to cool completely. This is an essential step because slicing into the bread while it’s still warm can lead to squished loaves.
Continue reading on the next page 👇👇